December 4, 2020
Blender: Properties of Materials
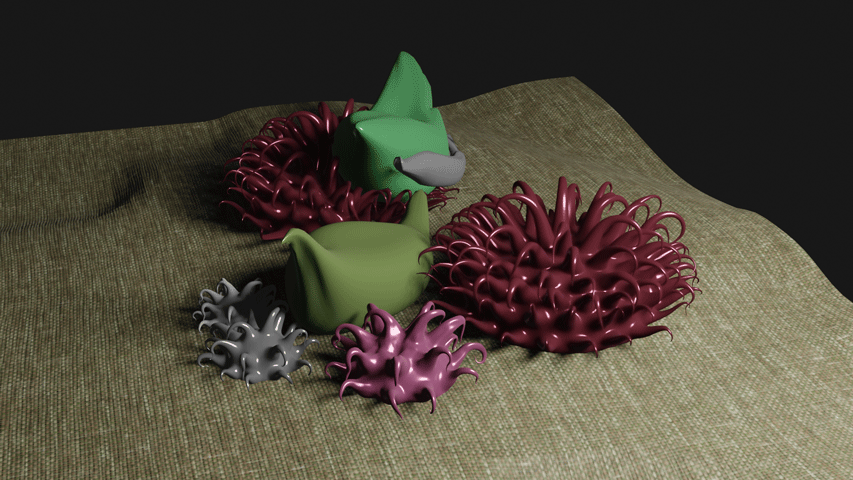
After the topology, comes the surface treatment. I'll unpack my adventure for any lessons it might afford.
Of the multitude of displays in the Blender cockpit, to the right of the screen is an editor window with fourteen modes. One of them treats material properties. Of course, there's nothing literal about this. What this set of controls deals with is a surface appearance that emulates the optical manifestation of materiality in meat space. Within this set lies twenty and more aspects of light reflection to dial into effect: surface color, subsurface color, surface roughness, sheen, clearcoat, metallic, anisotropic (which I barely understand), specular (ditto)...
SO... using monkey energy (my personal mode of figuring out new and complex experiences), I started toggling switches to manipulate the effect on my monad and the surface it sits on. After the initial waves of delight began to recede, I noticed that the results looked artificial, a regression from the initial black and white render after the topology was done. As all painters surrounding the epoch of Velasquez knew, there's more to color than a simplistic chromatic assignment.
To keep the monad from floating over a surface, I looked for ways to imbue more formal properties to the surface. By subdividing the plane into smaller mesh units, I could use Blender's sculpting workspace (one of ten, by the way) to drag a tool across the surface to make it emulate cloth, physically. Wrinkles, in other words. But the look was more desert dune than canvas.
SO... I found a fast way to project an image of cloth onto the surface below the monad. Credit to Andrew Price, an Aussie who owns Poliigon, a subscription service providing a wide array of photorealistic 3D assets. Price also runs an excellent YouTube channel called Blender Guru. Smart guy.
With the textile effect assigned, I realize that realism in Blender requires a tempered use of the saturated end of the color wheel. Looking around IRL, realize that colors around us are quite muted, moderated by a multitude of other light and color bouncing around at the same time.
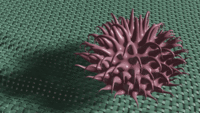
Two problems persisted. The monad was still floating like an alien spaceship and the fabric image looked like an image. How to create fabric with warp and weave in topological formal terms?
In the Blender interface, the editor pane has a tab called "Modifier Properties". In Blender's Russian Doll design, clicking on the modifier button pulls up a pane containing around fifty operations that you can use to alter topology. By taking the plane, subdividing it into smaller gridded units, you can use what is called a "Laplacian Deform" function to assign a unitized topology to each cell of the plane. If the unit is a fragment of warp and woof, tiling them together smartly will render a piece of cloth for you.
All fine and good, but the number of elements, vertices+edges+faces, go sky high. Too much data. Long render times. Unwieldy.
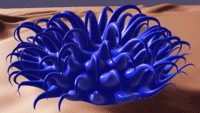
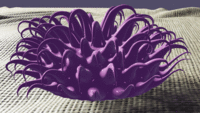
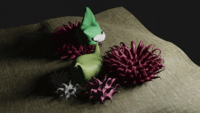
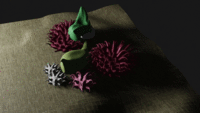
SO... back I went to Andrew Price's solution, the fabric texture image projection. I reeled in the color saturation. I added and duplicated elements to create a primitive scene. In the these two images, monads and paint licks appear chalky. So, in the image at the top of this blog post, I dialed up the reflective aspects to emulate oil paint.
There's so much more to learn and apply. Multiple light sources. The way ambient light reflects surroundings off the objects in scene regardless of how shiny they are. Atmospheric particles like smoke or fog or dust motes.
Tip of the iceberg.
Posted by Dennis at December 4, 2020 3:30 PM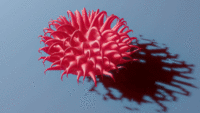
Leave a comment